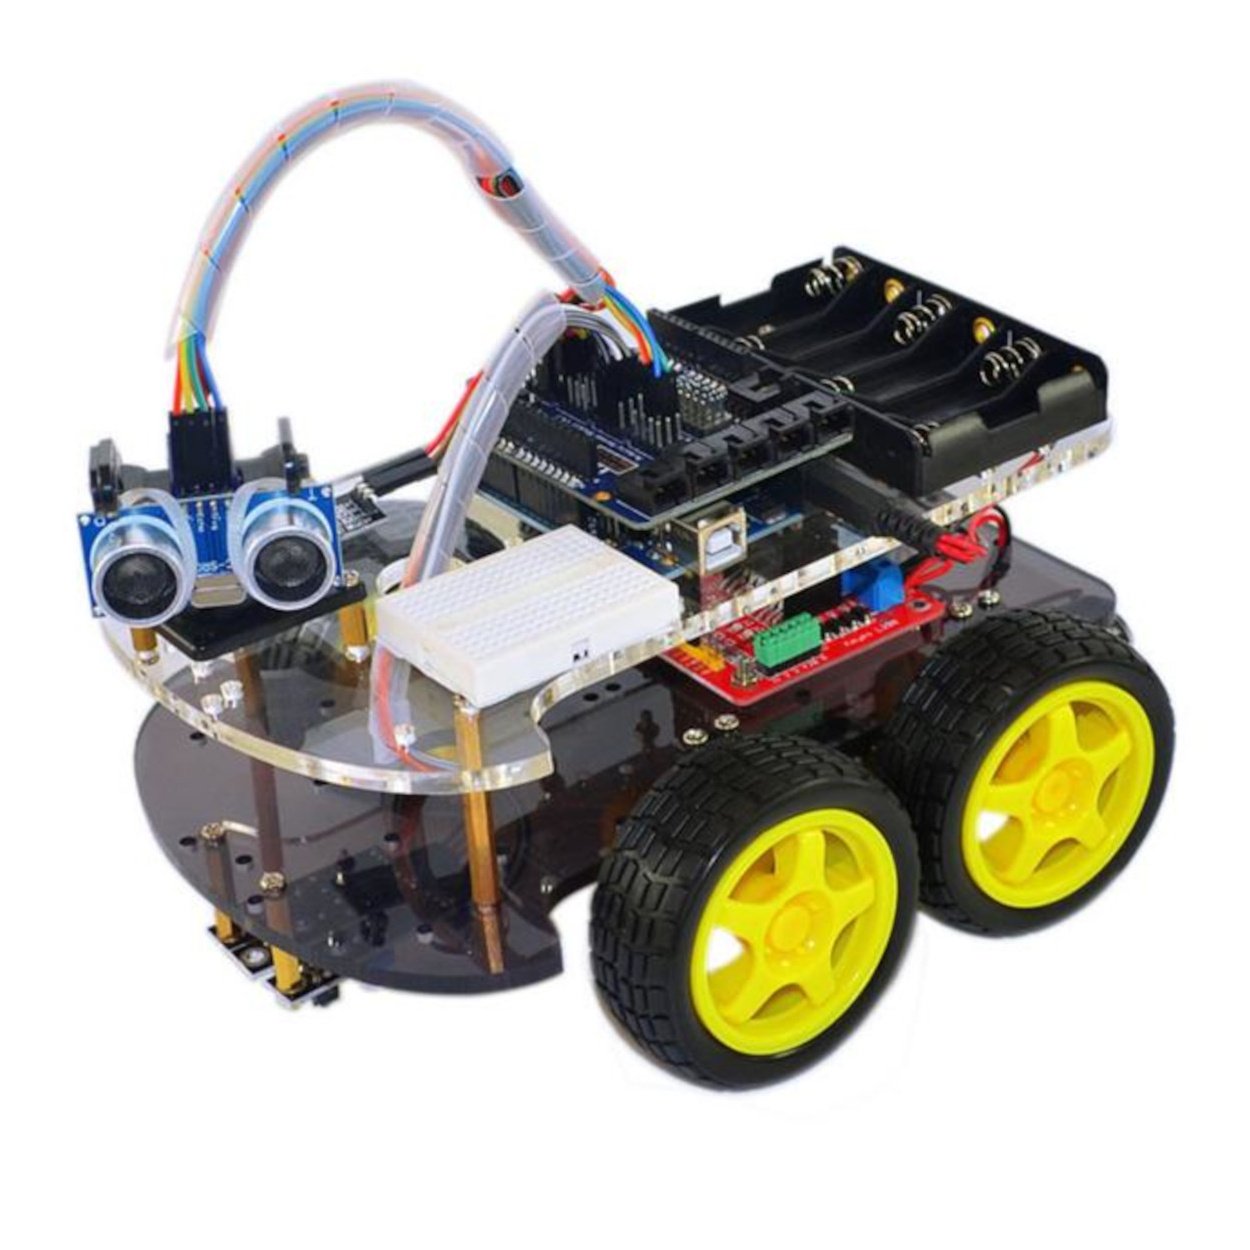
Combine an ultrasonic sensor with motor control so your robot senses obstacles and steers around them on its own.
What You Will Learn
Combining sensing and motor control in one program
Simple decision-making logic for autonomous movement
Using delay-based turning to change direction
Debugging robot behaviour with the Serial Monitor
Components Required
Arduino UnoHC-SR04 SensorL298N Motor Driver2x DC Gear MotorsRobot ChassisBattery Pack
BUILD IT STEP BY STEP
Follow along and build with confidence.
Every step includes a visual reference and a plain-language explanation, so you always know what to do next.
STEP 01
Mount the Sensor & Motors
🔧
Fix the HC-SR04 facing forward at the front of the chassis, and mount both gear motors and wheels so the robot can drive and turn freely.
STEP 02
Wire Everything Together
🔌
Connect the ultrasonic sensor's TRIG/ECHO to pins 9 and 10, and the L298N motor control pins to 5, 6, 9... (use free pins, e.g. 3 and 11 if 9/10 are taken by the sensor).
STEP 03
Upload the Code
💻
The robot drives forward continuously, checking distance each loop. If an obstacle is closer than 15cm, it stops, reverses briefly, then turns before continuing.
Learn how to control an LED using Arduino UNO by making it turn ON and OFF automatically. This is the basic concept behind indicator lights, warning lights, and signal systems used in real-world electronic devices.
Use a PIR sensor to detect human movement and automatically switch ON an LED. This demonstrates the technology used in security systems, automatic lights, smart homes, and occupancy detection.
Build a smart street light that automatically turns ON when it gets dark and OFF during daylight using an LDR sensor. This concept is commonly used in street lights, garden lights, parking areas, and energy-saving lighting systems.